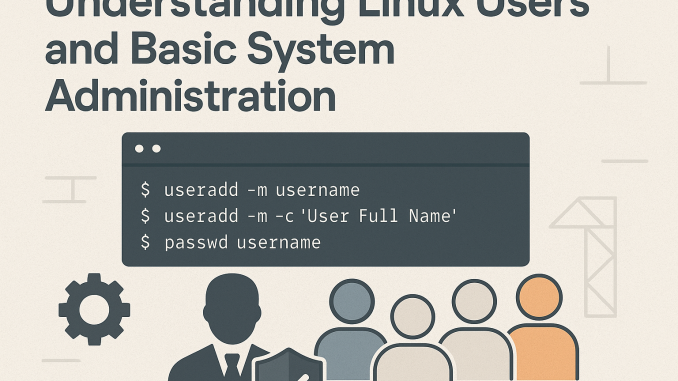
Linux is a powerful, multi-user operating system that allows multiple people to use the system at the same time or at different times without interfering with each other. To manage this, Linux uses a well-structured user system and provides tools for basic administration.
In this article, we’ll explore the types of users in Linux, their functions, and some introductory user management commands that are essential for beginners and tech enthusiasts.
Types of Users in Linux and Their Functions
1. Root User (Superuser)
- Has complete control over the system.
- Can install or remove software, modify system settings, and manage all files and users.
- Executes administrative commands with no restrictions.
- Should be used with caution, as incorrect actions can affect the entire system.
2. Regular User
- Created for individuals who use the system daily.
- Has access to personal files and a private home directory.
- Cannot change system-wide settings or access other users’ files.
- Can be granted limited administrative rights if necessary.
3. System User
- Created by the system or applications during installation.
- Used to run services and background processes (e.g., web servers, databases).
- Does not typically log in or perform interactive tasks.
- Helps improve system security by isolating service permissions.
Creating and Managing Users in Linux
Once you understand the types of users, the next step is learning how to create and manage them. Below are some simple user management commands and tips to help you get started.
1. Viewing Current User Information
To see information about the currently logged-in user, use:
id
This shows the user’s UID (user ID), GID (group ID), and groups they belong to.
2. Creating a New User
To create a new user with a home directory:
useradd -m username
The -m flag ensures a home directory is created for the user (e.g., /home/username).
3. Adding Full Name or Description
To add a full name (or any description) while creating the user, use the -c option:
useradd -m -c "User Full Name" username
This description is stored in the system and can help identify the user more clearly.
4. Setting a Password
After creating the user, assign a password:
passwd username
You’ll be prompted to enter and confirm the password. This step is required before the user can log in.
5. Verifying the User
To confirm that the user has been successfully added, you can use:
id username
Or check the /etc/passwd file:
grep username /etc/passwd
This file holds basic details for all system users, including their home directories and user IDs.
Best Practices for Managing Users
- Use clear and consistent usernames.
- Always set a password immediately after creating a user.
- Use the -m flag to ensure home directories are created.
- Add descriptive comments (-c) to help track user roles.
- Avoid logging in as root for routine tasks—use sudo with a regular user instead.
- Organize users into groups for easier permission management later on.
Conclusion
Understanding the types of users in Linux and how to manage them is a foundational part of system administration. Whether you’re learning for personal interest or professional development, mastering user creation, verification, and best practices gives you greater control over your system and prepares you for more advanced Linux tasks down the line.

Some good stuff